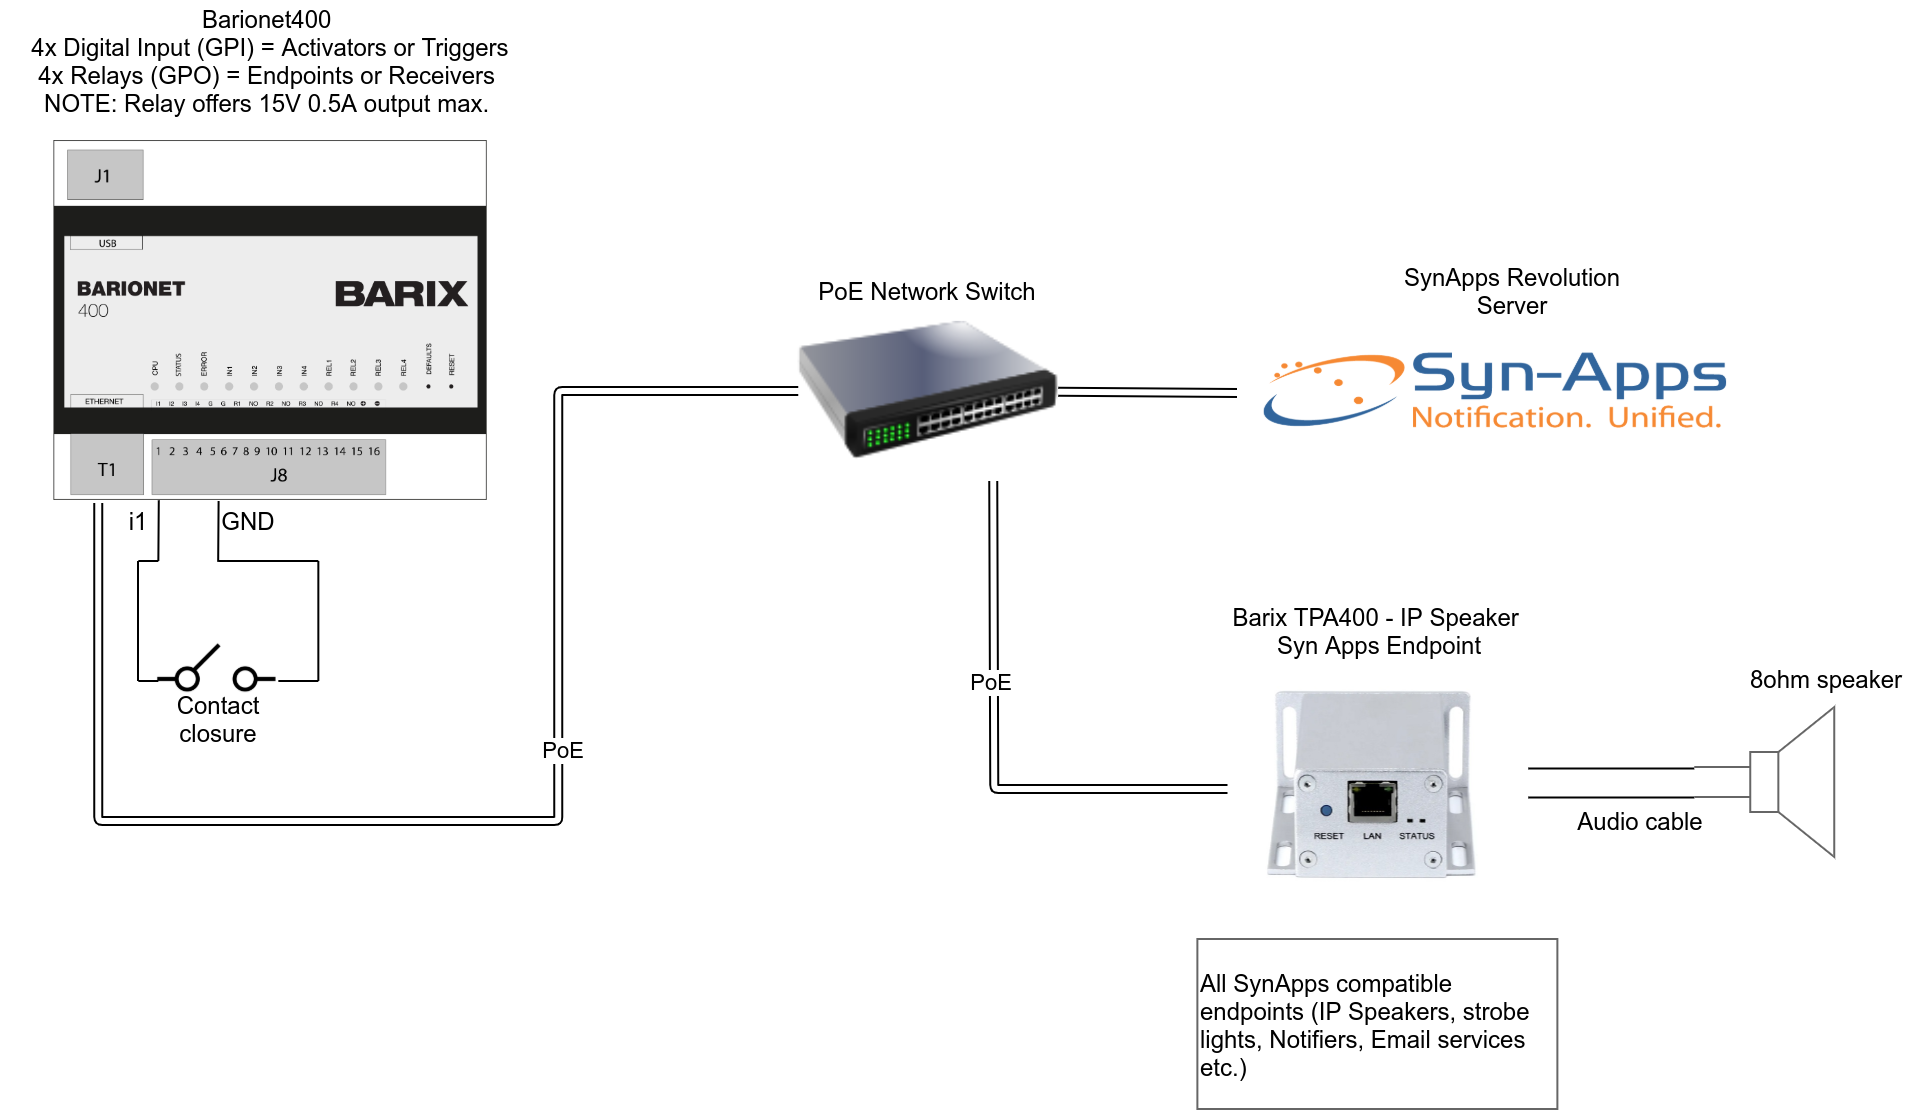
The scope of this document is to describe how Barionet 400 works with Syn Apps and how is possible to trigger a notification that activates the Barionet 400's relays
Preparation
In order to perform the operation described in this How To is necessary to prepare:
-
Barionet 400 running FW 2.16.0 or greater - Download is available from Barix website download area
-
Contact closure device (i.e. a non-latching switch)
-
Network switch
-
SynApps Revolution server
-
Barix TPA400 IP Former running IP Speaker (optional, it can be used as an Endpoint to play an audio notification triggered from B400 contact closure along with the Relay activation on B400)
Setting Up Barionet 400
Once the connections are established and the B400 is powered (either using a PoE switch or the external Power Supply):
-
Find out the IP address of your Barionet400 device either using the Barix Discovery Tool or a network discovery program. By default the Barionet is configured to be a DHCP client, if a DHCP server is in the network it will get an IP address offered from it.

-
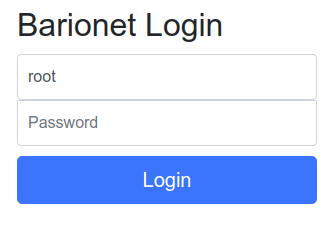
Access the Barionet400 web configuration page with a web browser typing the IP address of the device in the URL field
-
Enter the root user password. Find the password printed on the bottom of the device (labelled as PW)
-
Make sure the device is running at least firmware 2.16.0 - Check in the status page
In case the device is running an older version click on "check for updates" and update the device (or update it manually from the Advanced tab downloading the latest firmware from Barix website)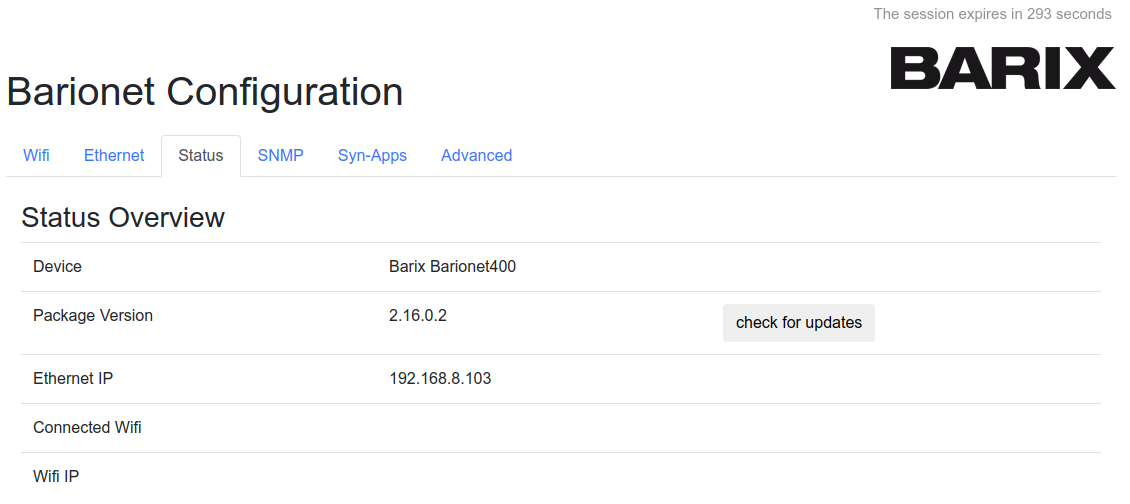
-
Locate SynApps Settings and Enable Syn-Apps:
-
Automatic discovery: leave the Server IP Address field empty. DHCP OPT72 WWW is used to automatically discover the server and register with it.
-
If the device cannot discover DHCP OPT72 then it needs to know the SynApps server address to connect with - In this case fill in the Server IP Address field
Click on Submit

-
Setting Up Syn-Apps Revolution
When the Barionet 400 is registered with a SynApps server is shown automatically as an IP Device under Configuration → IP Devices
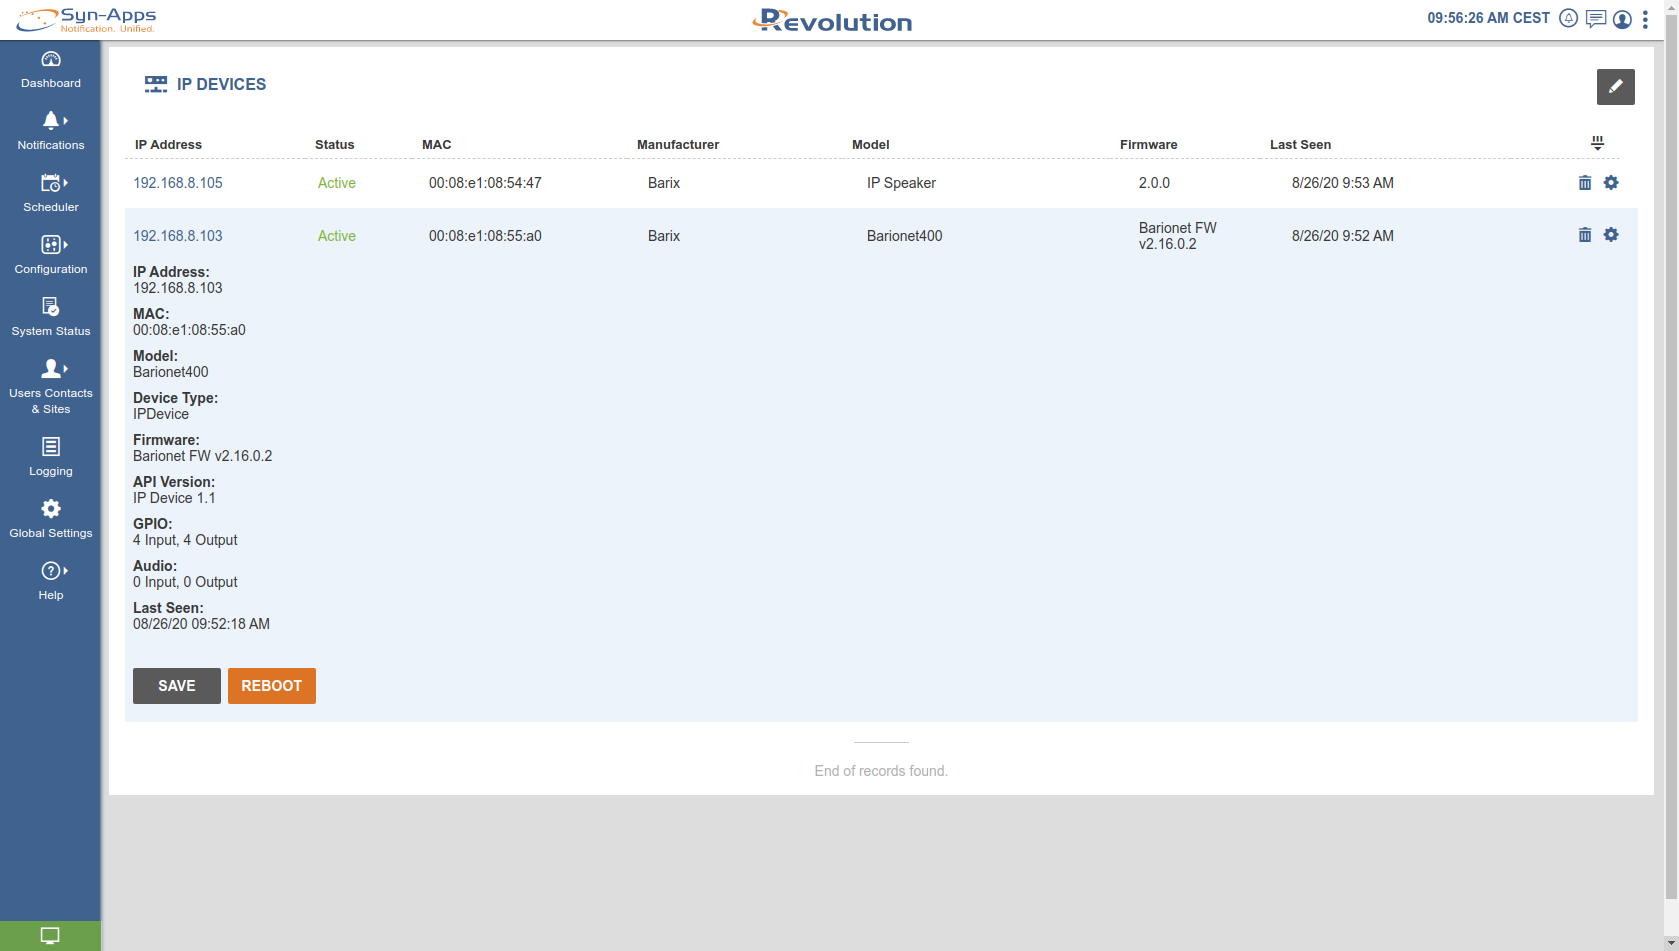
During the registration devices announce their capabilities to Syn Apps, under GPIO note: 4 Inputs, 4 Outputs
Once the capabilities of the device are processed by SynApps Revolution (the process may take up to 10 minutes so be patient) the GPI (General Purpose Inputs) of the Barionet400 are listed automatically under Configuration → ACIVATORS
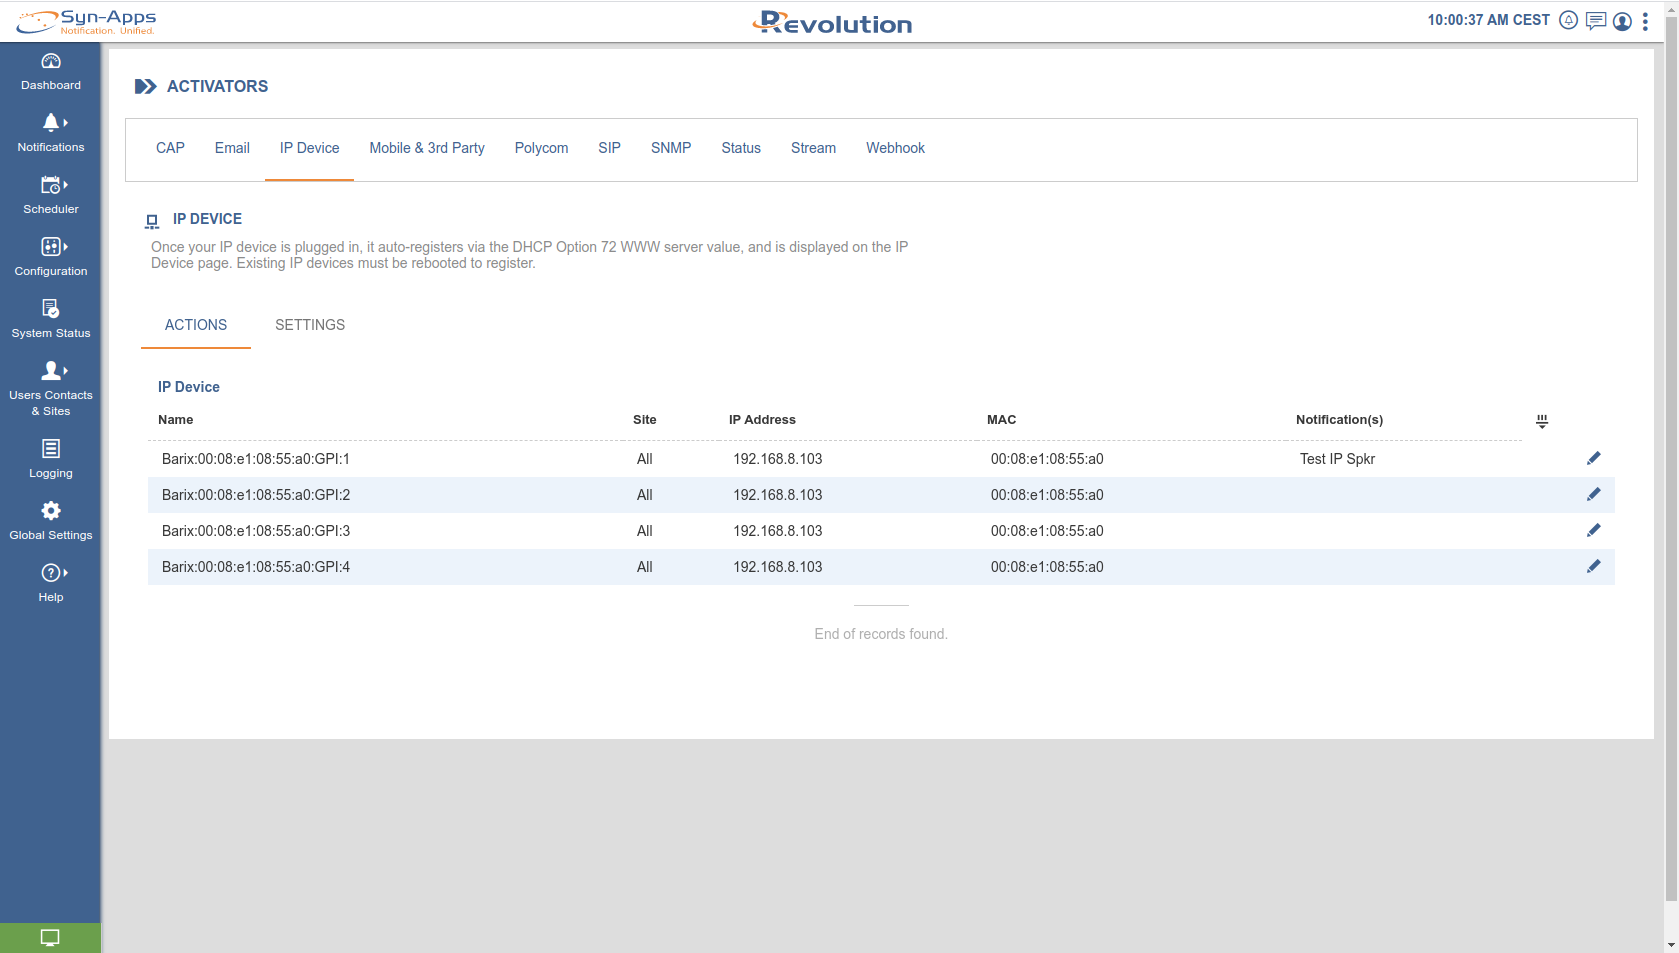
While GPO (General Purpose Outputs) are listed automatically under Configuration → ENDPOINTS (Note also the IP Speaker registered as Endpoint device)
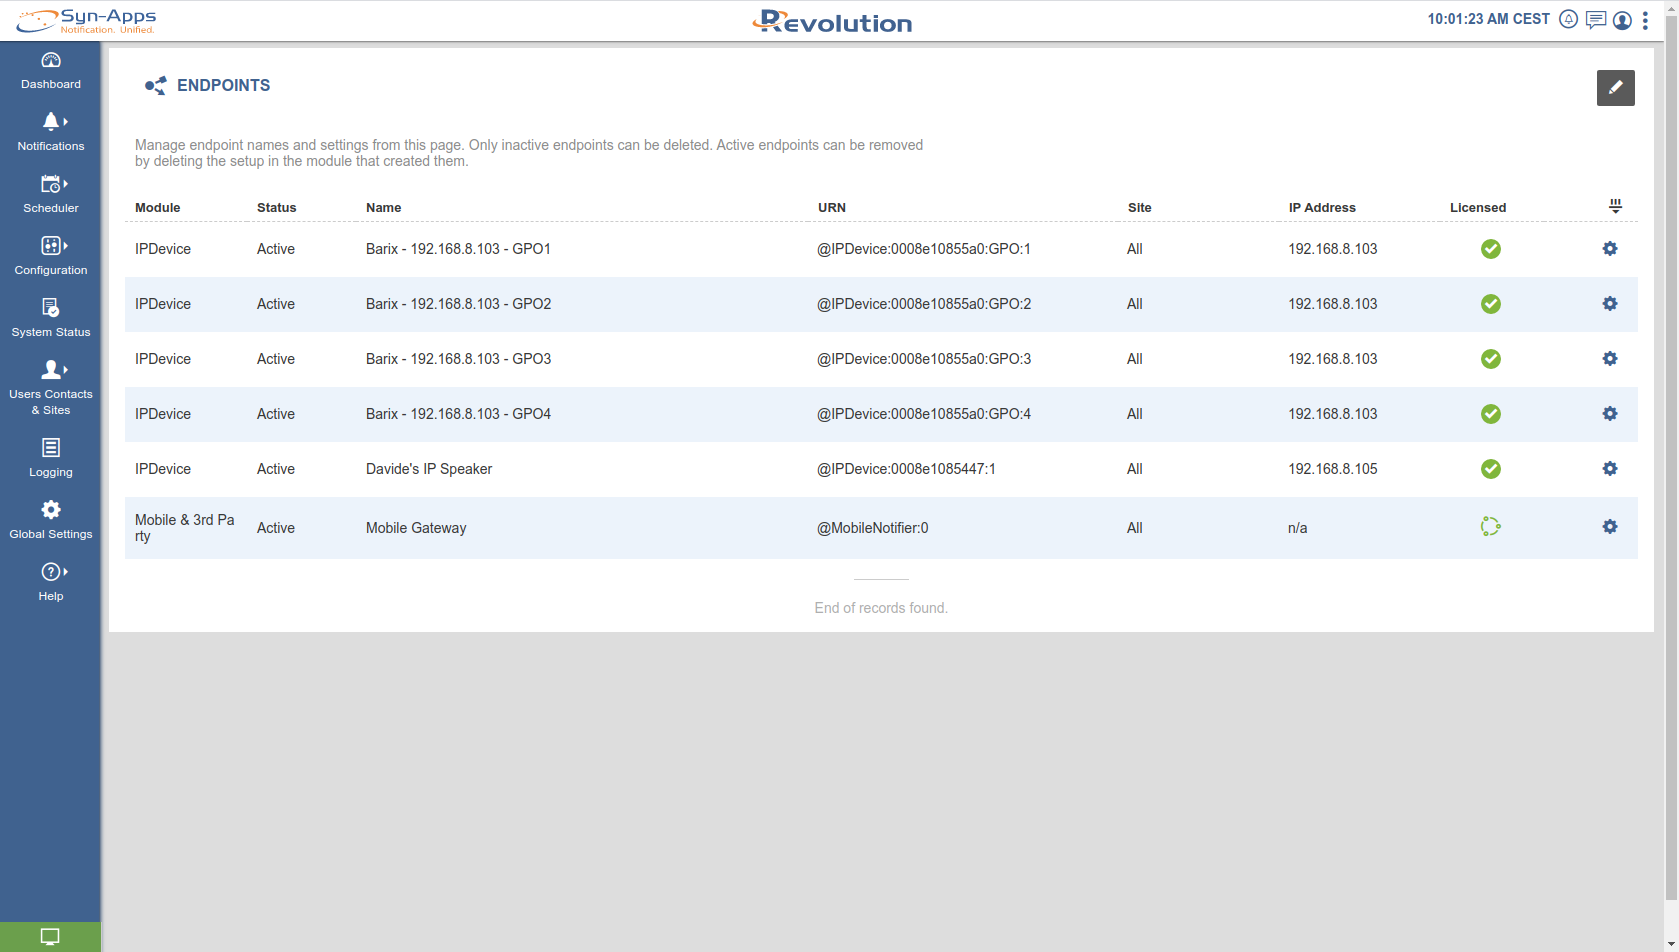
The entire process runs automatically, now Input and Output ports of the Barionet 400 are seen as objects that can be used to trigger or receive notifications.
Create a notification
-
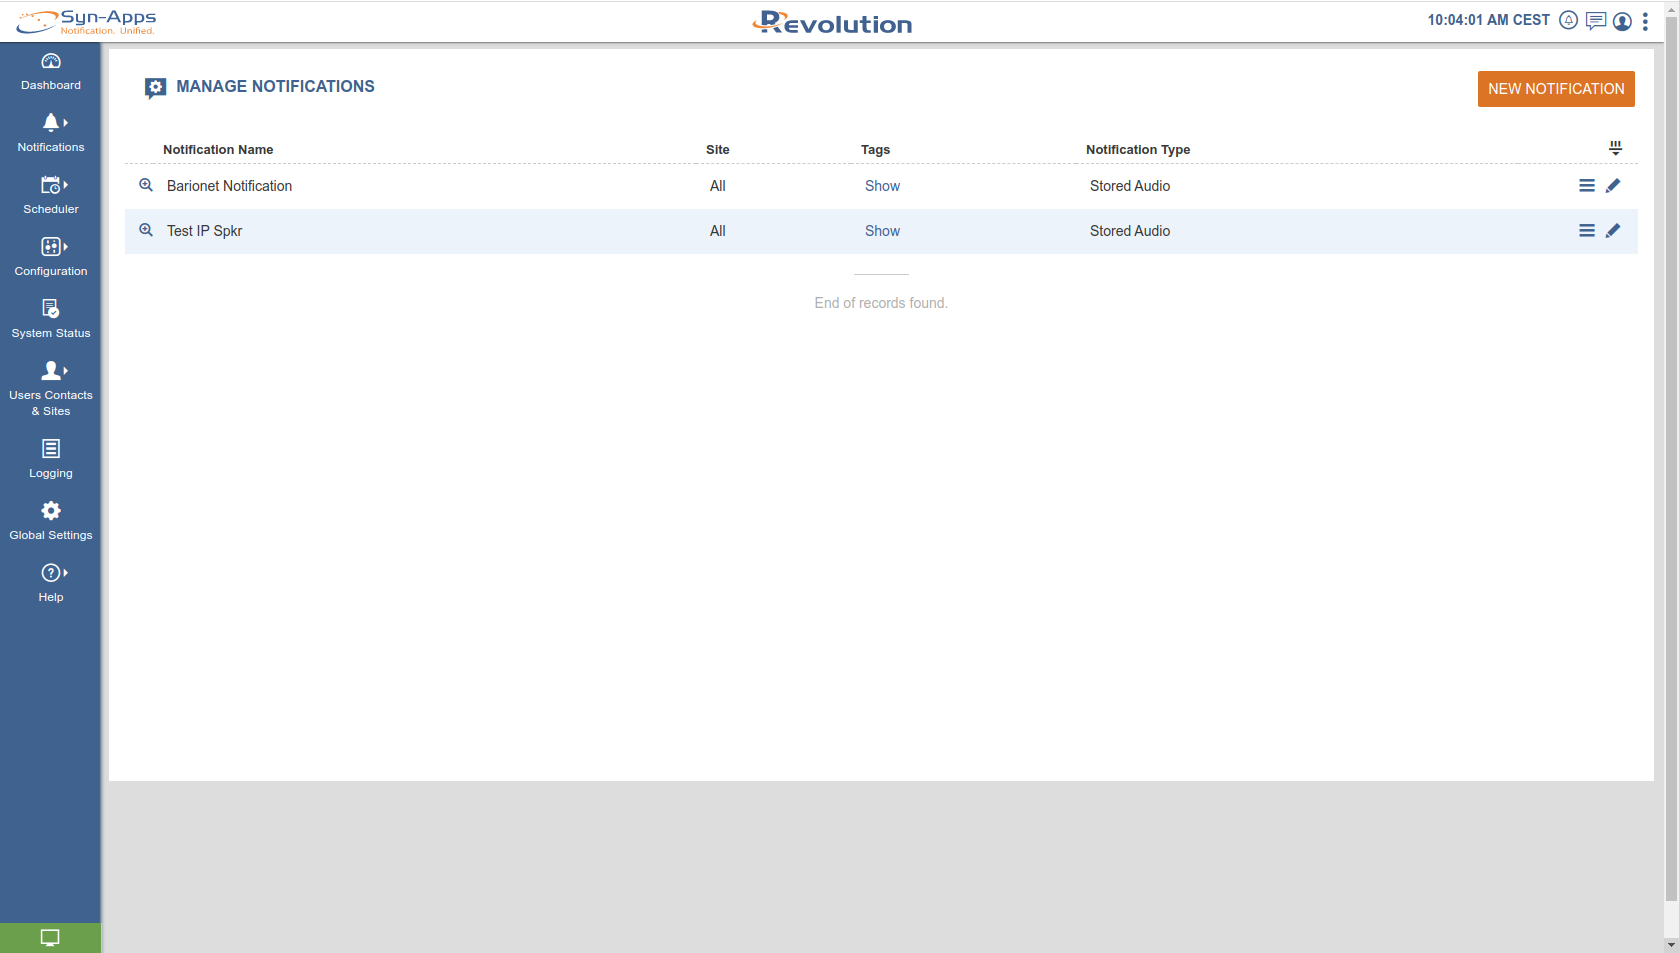
From SynApps left side navigation menu open Notifications → Manage and click on NEW NOTIFICATION
-
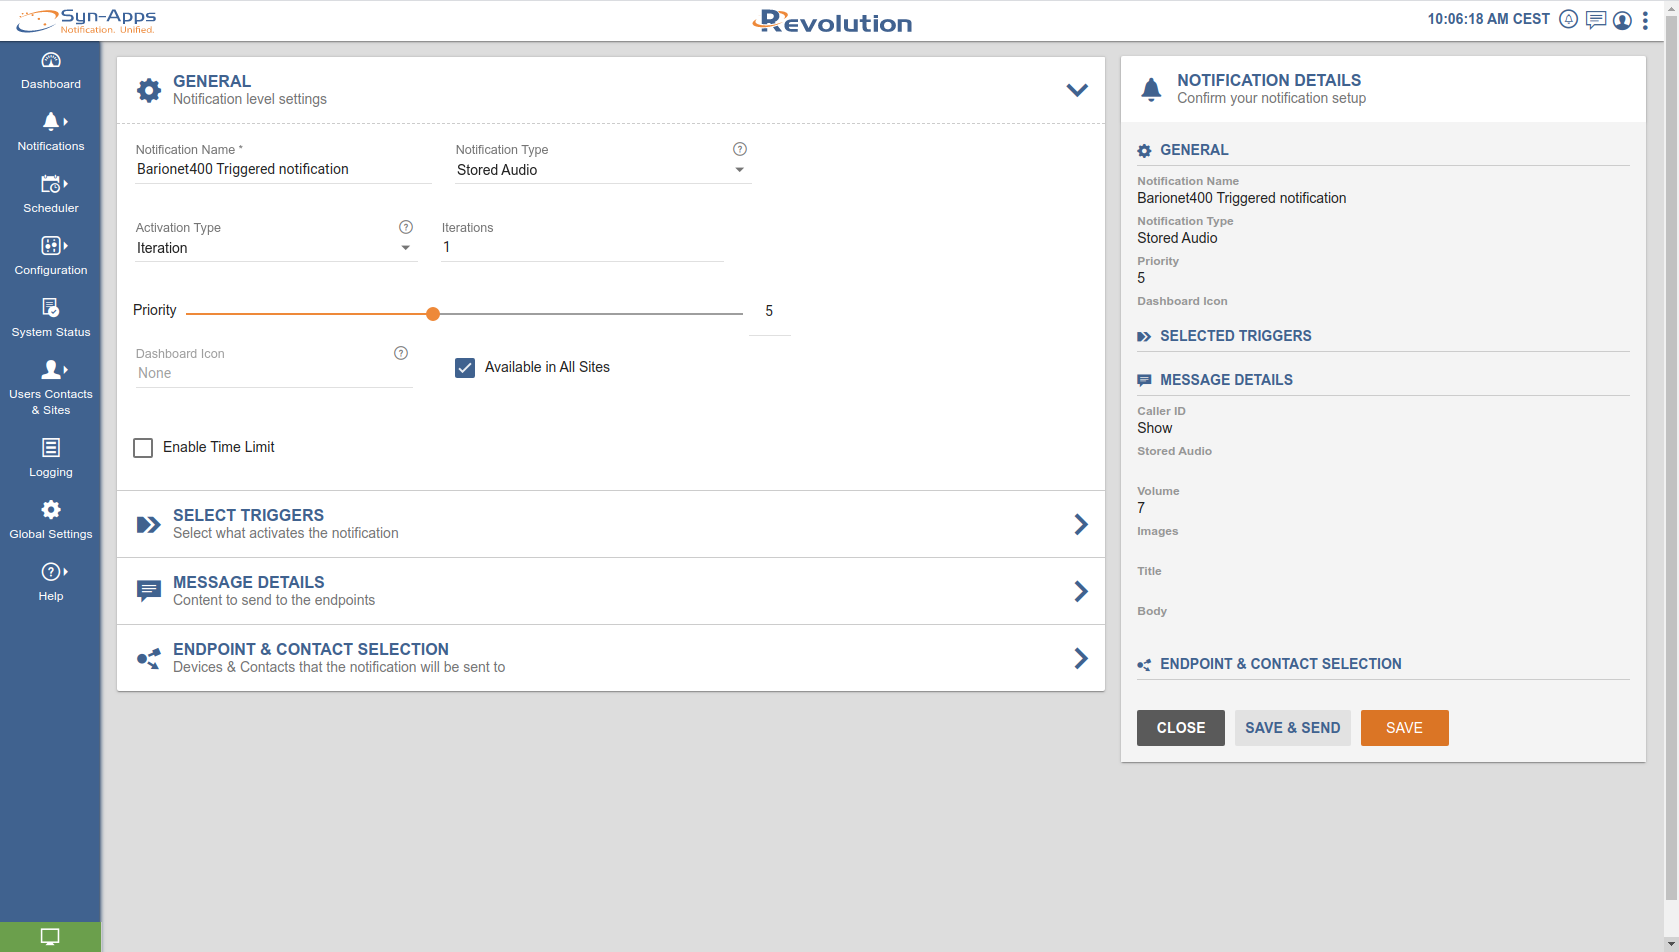
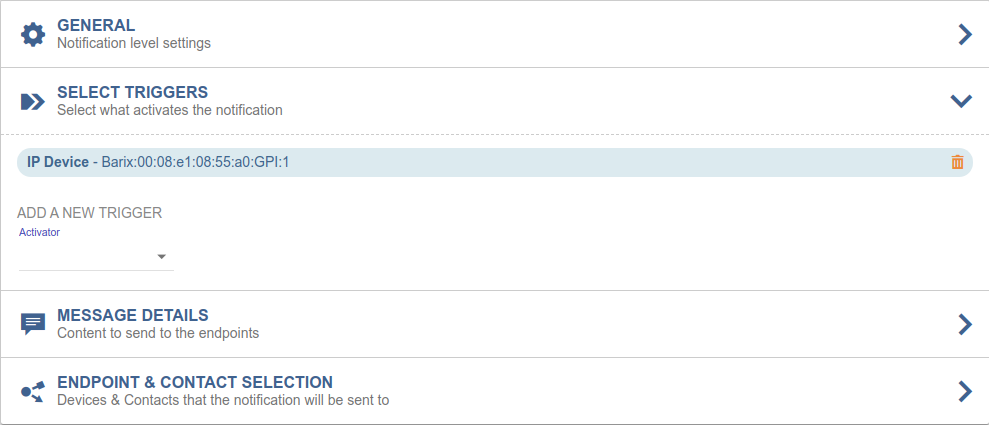
The notification creation process starts - On the right side is a recap of the notification being created on the left side are the actual settings of the notification, to be made in 4 steps:
-
General settings: select your desired notification type according to what the Barionet has to trigger, in the example we will trigger stored audio file that will play on IP Speaker and while doing that the relay 1 of the Barionet will also be activated (see step d)
-
Select Triggers: here is where to select the GPI of the Barionet that will be used to activate the notification
-
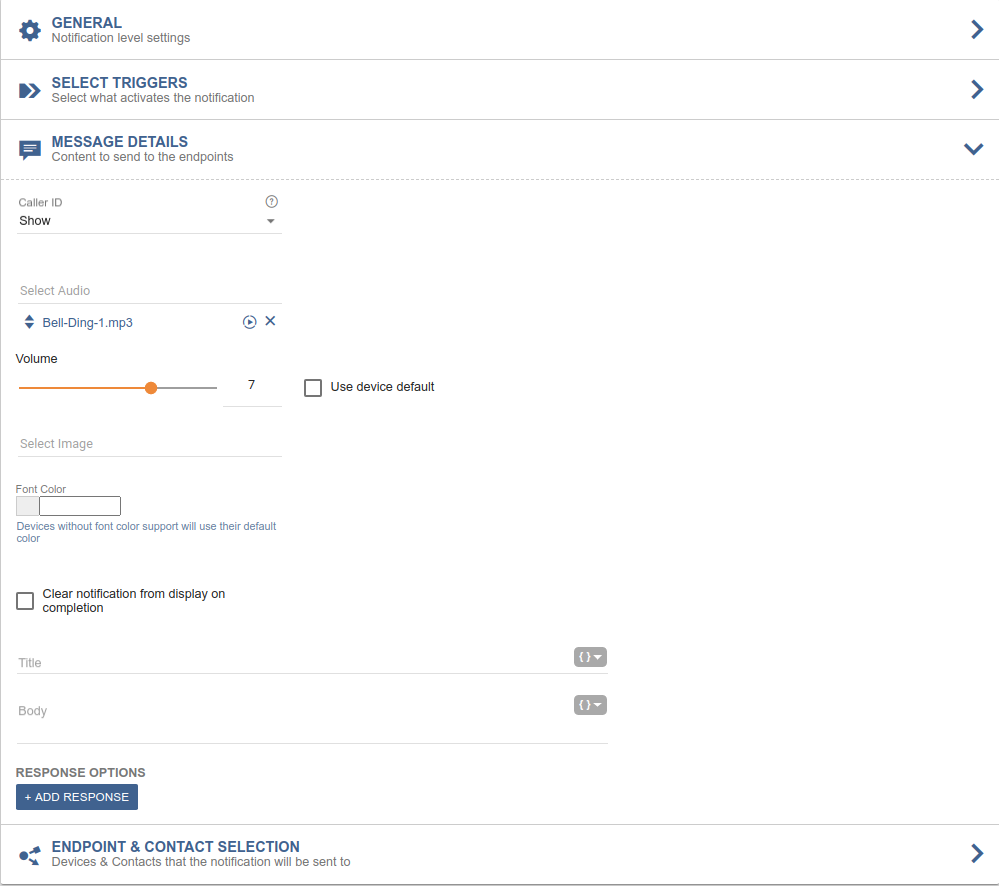
Message Details: Where to select the audio file to be sent plus other settings related to the notification content (depending on the type selected in step a)
-
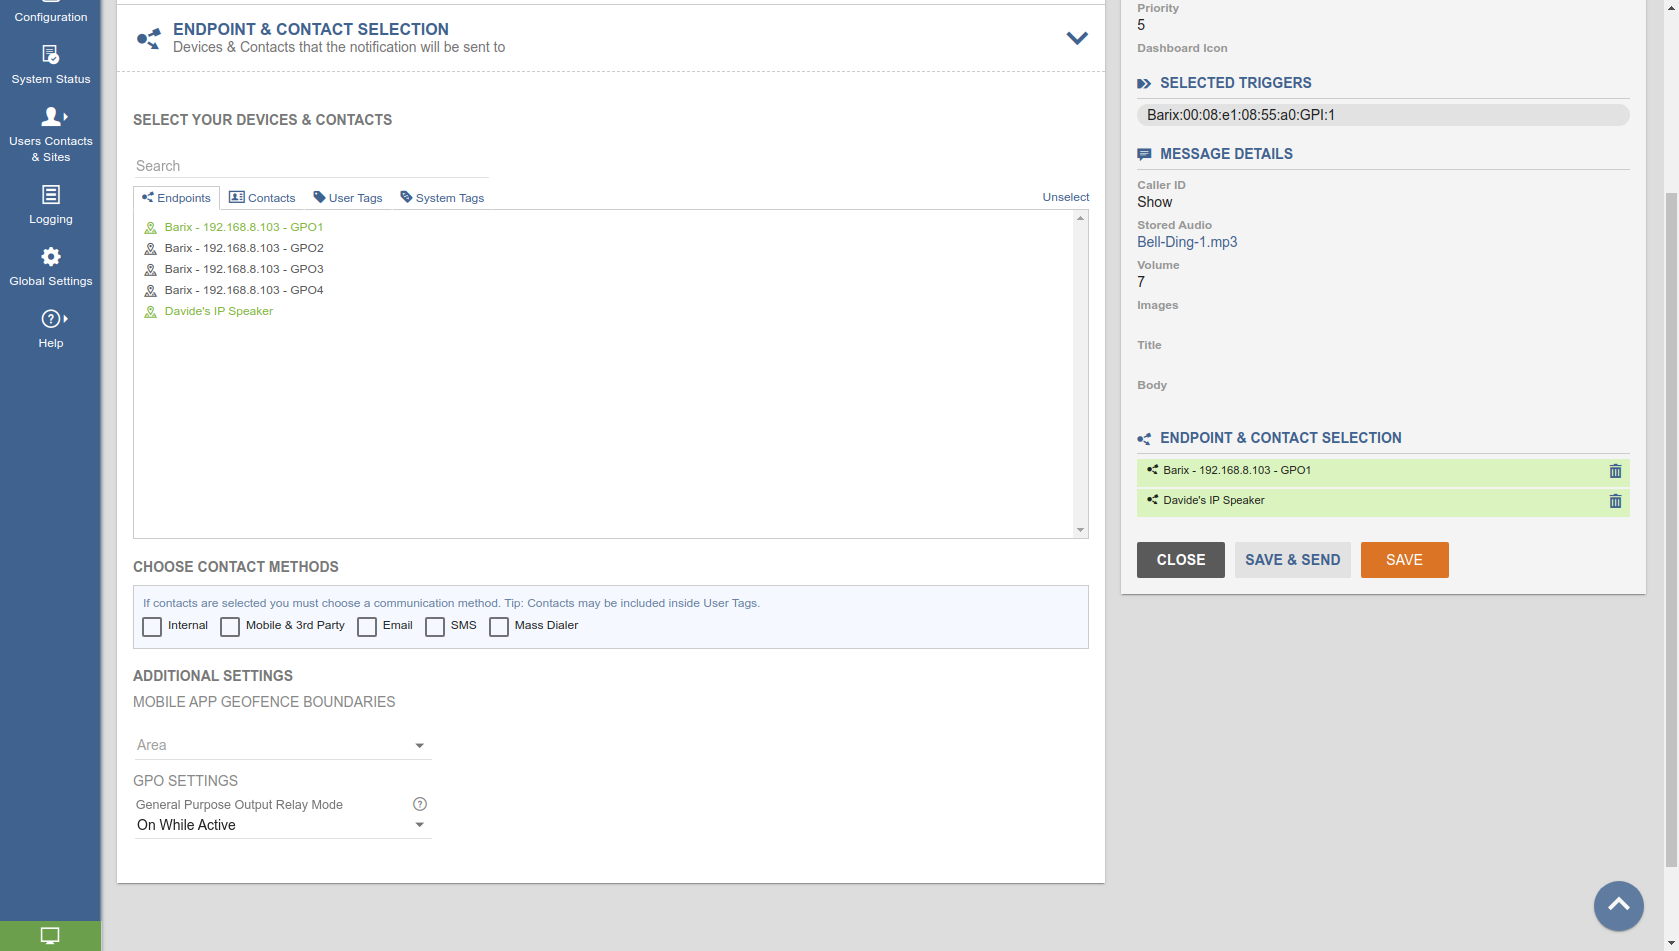
Endpoint and contact selection: set the RECEIVER of the notification. In our case we select our Barix IP Speaker and the GPO 1 of the Barionet (note the GPO settings: ON WHILE ACTIVE - this tells to activate the relay during the notification and de-activate it when the notification ends, other values are available from the drop down menu depending on the needs)
-
-
Click on SAVE
Done! Your notification is now ready to be activated from Bariont400 Input 1. Push the button and watch the relay 1 led switching on and if you have an IP Speaker from Barix registered with SynApps as well you will hear the stored audio file playing.
For any technical assistance related to Barix products contact your local distributor or directly Barix support at support@barix.com