How to mount the ESD protection springs?
Introduction
This how-to will guide you step by step to mount the Barix ESD protection enhancement springs.
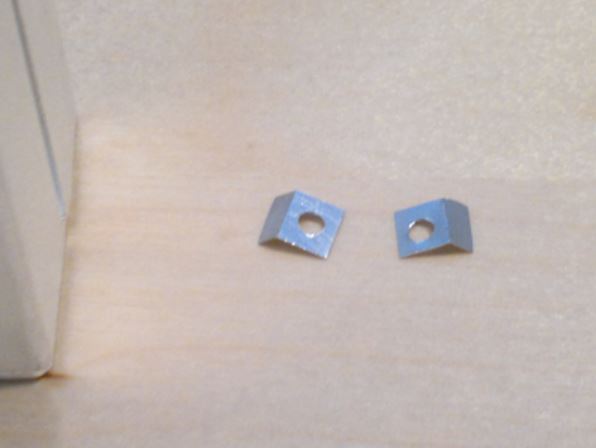
The application of the springs will enhance the ESD protection by making a better connection between the shielding of the RS-232 connector and the device enclosure (aluminum housing). Note that this does NOT alter the insulation between device shielding and the internal ground (analog / digital signal ground).
The springs can be requested directly from Barix using either this online form, this email form or by sending an email to esdsprings@barix.com (Click here for a sample body text).
To enlarge click on any of the photos.
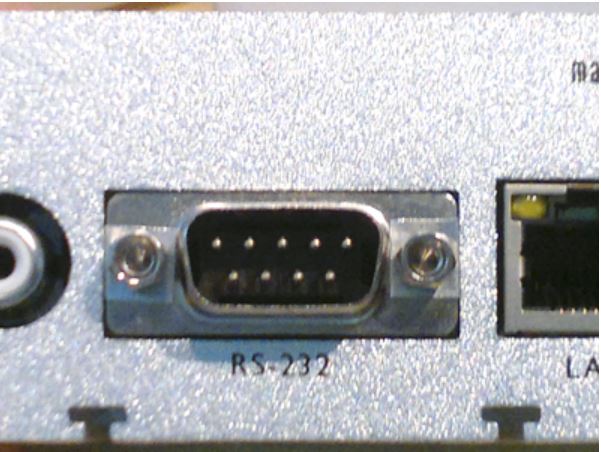
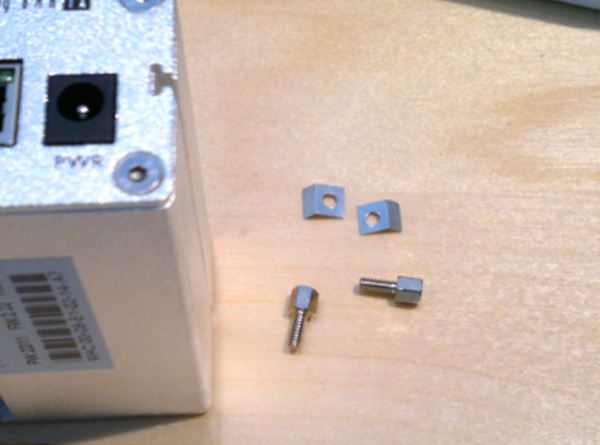
Step 1: Preparation
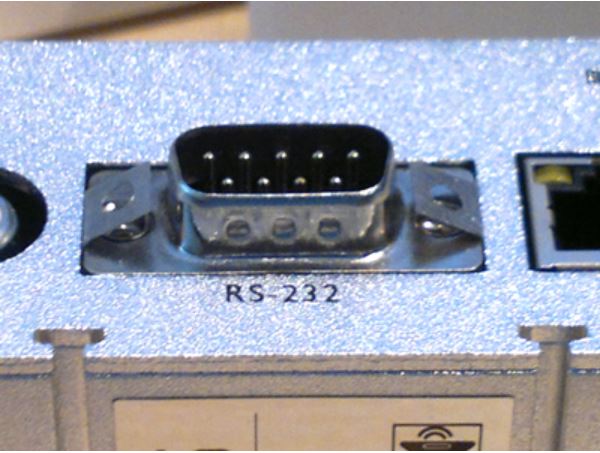
Unpack the device and the springs. Place the device on the table with the rear plate facing up.
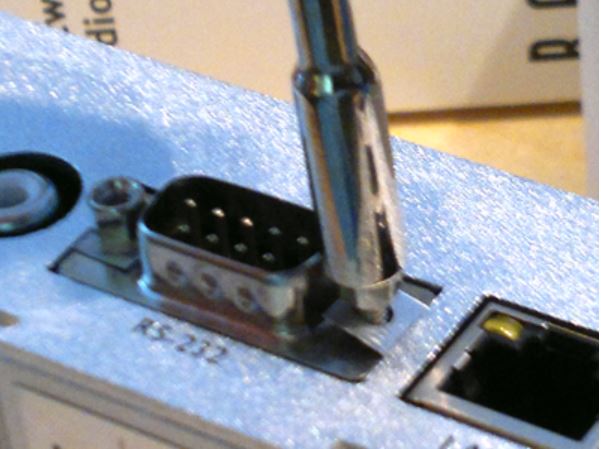
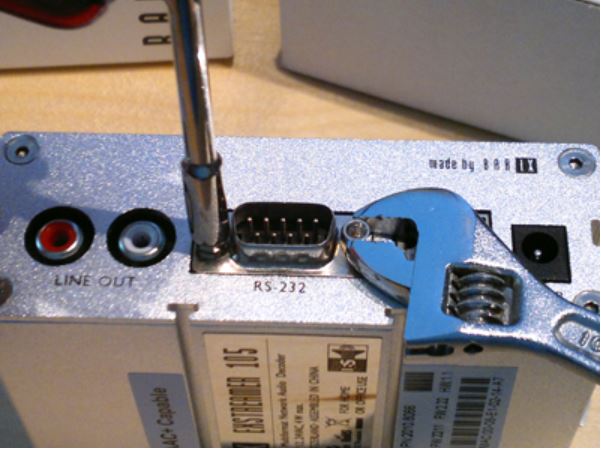
Step 2: Unscrewing the bolts
Use appropriate tools to unscrew the left and right Dsub bolts of the RS-232 connector. Place the bolts aside for mounting in the final steps.
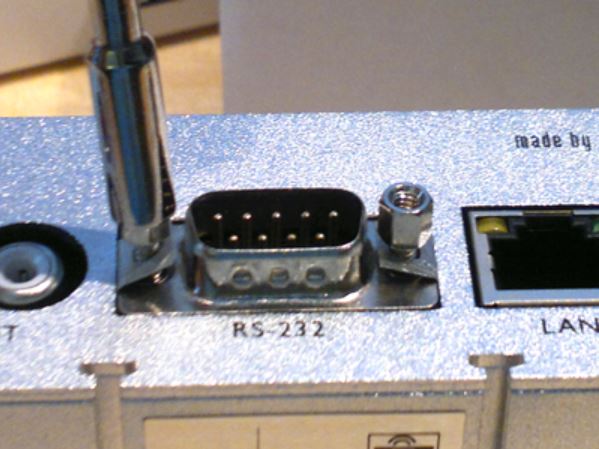
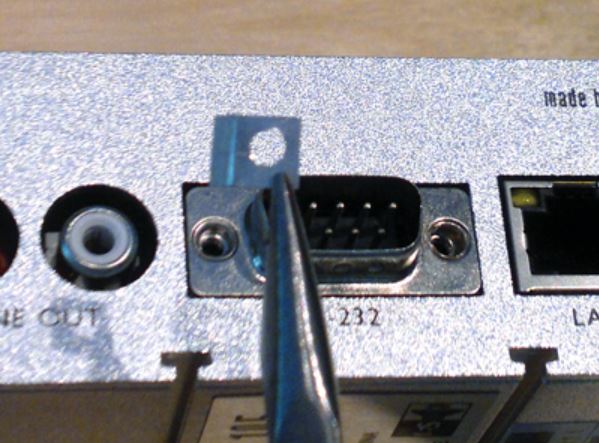
Step 3: Placing the springs
Use pliers or a tweezer to place the springs in the slot between the RS-232 connector and the enclosure.
The bent part with the screw hole must be placed facing up!
Place the spring to fit the screw hole for easy mounting of the bolts.
Production tolerances might prevent you from placing both spring which is ok as long as one spring is touching the enclosure.
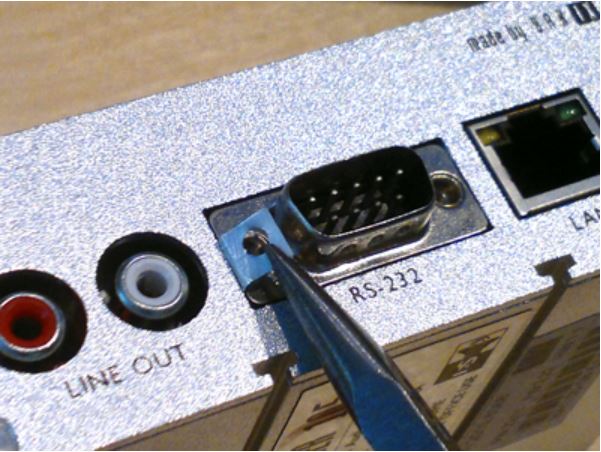
Step 4: Screwing back on the bolts
Use appropriate tools to screw back on the left and right Dsub bolts of the RS-232 connector.
Place both bolts in loosely before tightening them!
Tighten both bolts to prevent accidental untightening.